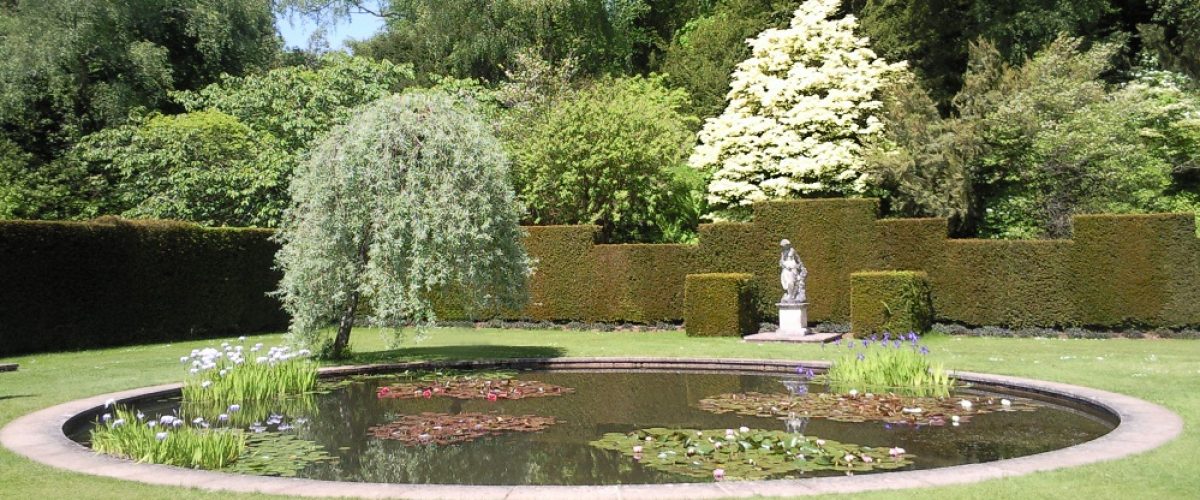
So you would like to add a pond to your garden? Great. This guide will outline the main factors to consider when designing, building and stocking your new pond. This guide will focus on the traditional sunken pond constructed with a flexible liner. Other methods such as pre-formed ponds or raised ponds are also an option to be considered.
1. Choosing a site
Choosing where in your garden to locate your pond is not as simple as thinking “There’s a gap there, that’ll do”. If you choose the wrong site you may end up with headaches further down the line. Follow our simple guidelines below for a successful start to your new pond:
- Don’t put the pond too close to deciduous trees or shrubs as they will shower the pond with leaves every autumn which will rot and pollute the pond.
- A site with partial sun is excellent as it allows plants to thrive. Stay clear of a site which receives sunlight all day though as algae may become a nuisance.
- Steer clear of areas near large trees as roots can rupture liners over time.
- Allow access all the way around the pond to make maintenance easier in the future.
- Formal or patio ponds are generally located nearer to the house so that you can enjoy them from indoors whereas a wildlife pond would be much better in an area further from the house to encourage wildlife.
- Consider how you will get power to the pumps etc. Pond equipment generally comes supplied with 10m of cable (5m for some filters).
Careful planning is essential to the success of a pond so do allow time for this.
2. How big should it be?
This is largely dependent on the space available in your garden. As a general rule you should not have a pond (with fish in) that is shallower than 2 feet. If you intend to keep Koi the minimum depth for your pond is 4 feet. Koi are fast growing fish that produce a lot of waste so a large pond is therefore required.
3. Digging the pond
Before you start to dig the pond you will need to think about what method you will use to construct the pond. We will outline the procedure for fitting a flexible liner here. If you wish to use a different method we would advise visiting our book section for further advice. If using a flexible liner you will need to determine how much is required, use the following calculation for this:
- Width = pond width at widest point + (depth x 2) + (edge overlap x 2)
- Length = pond length at longest point + (depth x 2) + (edge overlap x 2)
If using a flexible liner it is advisable (although not essential) to first of all dig a small trench around the perimeter of your planned pond. This trench should be approximately 6 inches deep by 10-12 inches across. Once dug this trench can be filled with concrete to form a level, sturdy base for the capping stones you will use once the liner is in place. A level water line is also much more pleasing to the eye.
Once the concrete is completely dry you can excavate the pond itself. Be very careful when digging near to the concrete collar as it can be easily damaged by a stray spade!! Allow a gentle slope on the sides of approximately 3-4 inches per foot of depth.
Shelves can be formed around the edges of the pond for planting. These should be around 10-12 inches from the water surface.
4. Lining the pond
Once the pond is dug out ensure that there are no stones, roots or similar items that could pierce your shiny new liner. Once all of these items have been removed lay an underlay to protect the liner itself. A good quality underlay will protect the liner better than things such as sand or old duvets and is a worthwhile investment.
Now that the pond is excavated and lined with underlay it is time to fit the liner itself. Unroll the liner next to the pond ensuring it is the right way round. Lay the liner over the hole and allow it to sink in as far as it can. Now you can get your shoes off and get into the hole to gently push the liner to the edges and around shelves etc. Try to remove as many creases as you can at this point.
Once the liner is roughly in place and the creases are flattened out as best you can its time to turn on the tap! Fill the tank with a hose pipe and allow the weight of the water to slowly drag the liner into place.
Once the water is approximately 6 inches from the intended level turn off the water and remove the hose. Now that the liner is in place you can trim the excess. Don’t forget to allow for some overlap to go underneath your edging stones/slabs!!
5. Finishing the pond
Lay your slabs/stones around the pond without mortaring them down to ensure a good fit. Once you are happy with the layout you can start to mortar them down on top of the liner on top of the concrete collar (told you it would be useful). Take care not to drop any mortar into your pond. The slabs should slope
Once the edging is in place you just need to trim off any liner which is poking out of the outer edge and then stand back to admire your new pond!!

